PRINTING
TECHNIQUES
3D printing any plastic is a process that comes with a wide range of variables that all interlinked with knock on effects. Knowing how to manipulate these settings will allow you to achieve your desired results. In this section we will cover some of the printing techniques specific to 3D printing polycarbonate and offer some tips on setting you up your printing process.
3D Printing polycarbonate is all about reaching and maintaining the correct temperature suitable for the grade of polycarbonate that you are printing with. This is the most critical aspect to consider when printing with polycarbonate. As an amorphous polymer the long polymer chains are naturally arranged in a spaghetti-like formation when solidified. During extrusion the filament is rapidly heated and forced through a hot end, these polymer chains are stretched out of their natural state, creating internal stress within the material. If the plastic is then rapidly cooled the polymer chains will contract back to their natural state pulling the plastic out of is extruded shape causing warping and shrinkage of the printed part.
The solution to this problem is very simple; ambient heat.
Ambient heat inside the printing chamber prevents the polymer chains from rapidly contracting back to their natural position once they have been deposited onto the previous layer. Without ambient heat, the rapid cooling of the polycarbonate will not allow enough time for the polymer chains to relax, causing warping. Furthermore, this process is exacerbated by the repeated movement of the hot end as it deposits a new layer on top. The material will be reheated and rapidly cooled again producing a quenching effect on the material. This increases brittleness and decreases interlayer adhesion strength. This process will carry on declining in severity until enough layers have built up on top, till they act as a heat shield from the temperature differences.
By maintaining a chamber temperature that is ~80% of the material grade’s glass transition temperature (Tg), you can create the perfect printing environment. This is the sweet spot that ensures each layer deposited can solidify under the minimal amount of stress. It is true that a chamber temperature closer to the Tg will produce a stronger printed part, due to released stress and stronger inter layer adhesion, however in practice regulating this temperature is unmanageable and compromises the surface quality and dimensional accuracy of your printed part. As the plastic is deposited, the more ridged the model is, the better the dimensional accuracy will be. Our research has found that ~80% of the Tg produces a ridged base for each layer to be deposited while allowing the polymer chains enough time to relax and release internal stress caused by printing. Obviously, achieving the maximum strength of a part in critical in design and repeatability, please see the annealing section in Post Processing to learn more about optimising the strength of your prints.
We have learnt that temperature is the most critical factor when printing polycarbonate. Many 3D printers come equipped with a cooling fan, aimed directly at the hot end with the purpose of solidifying the molten plastic as soon as it is deposited. While this can improve the surface quality of a 3D printed part and is encouraged with some other materials. We recommend never printing polycarbonate with the cooling fan turned on. As we know, to achieve the maximum part strength we need to maintain an environment that is ~80% of the Tg for the best results. The cooling fan will only disrupt the ambient temperature that we need to achieve strength and accuracy.
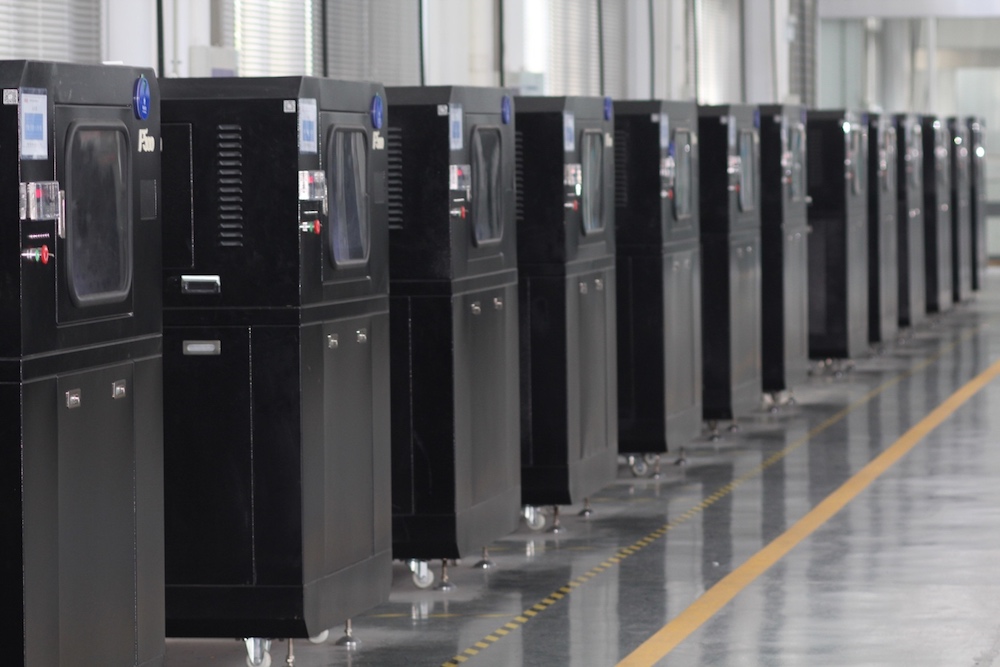
The next section will look at a series of recommended printers for polycarbonate.